How to draw a tap
Table of Contents
Table of Contents
If you’re interested in learning how to draw a tap step by step, you’ve come to the right place. Drawing a tap can seem challenging, but with the right guidance, anyone can do it. In this blog post, we’ll go through the steps required to create a beautiful tap drawing that will impress anyone who sees it.
Whether you’re an experienced artist or a beginner, there are several pain points that come with drawing a tap. The intricate details of a tap can be challenging, as can getting the proportions and perspective just right. However, with some practice and following the steps provided, you’ll be able to overcome these obstacles and draw a stunning tap.
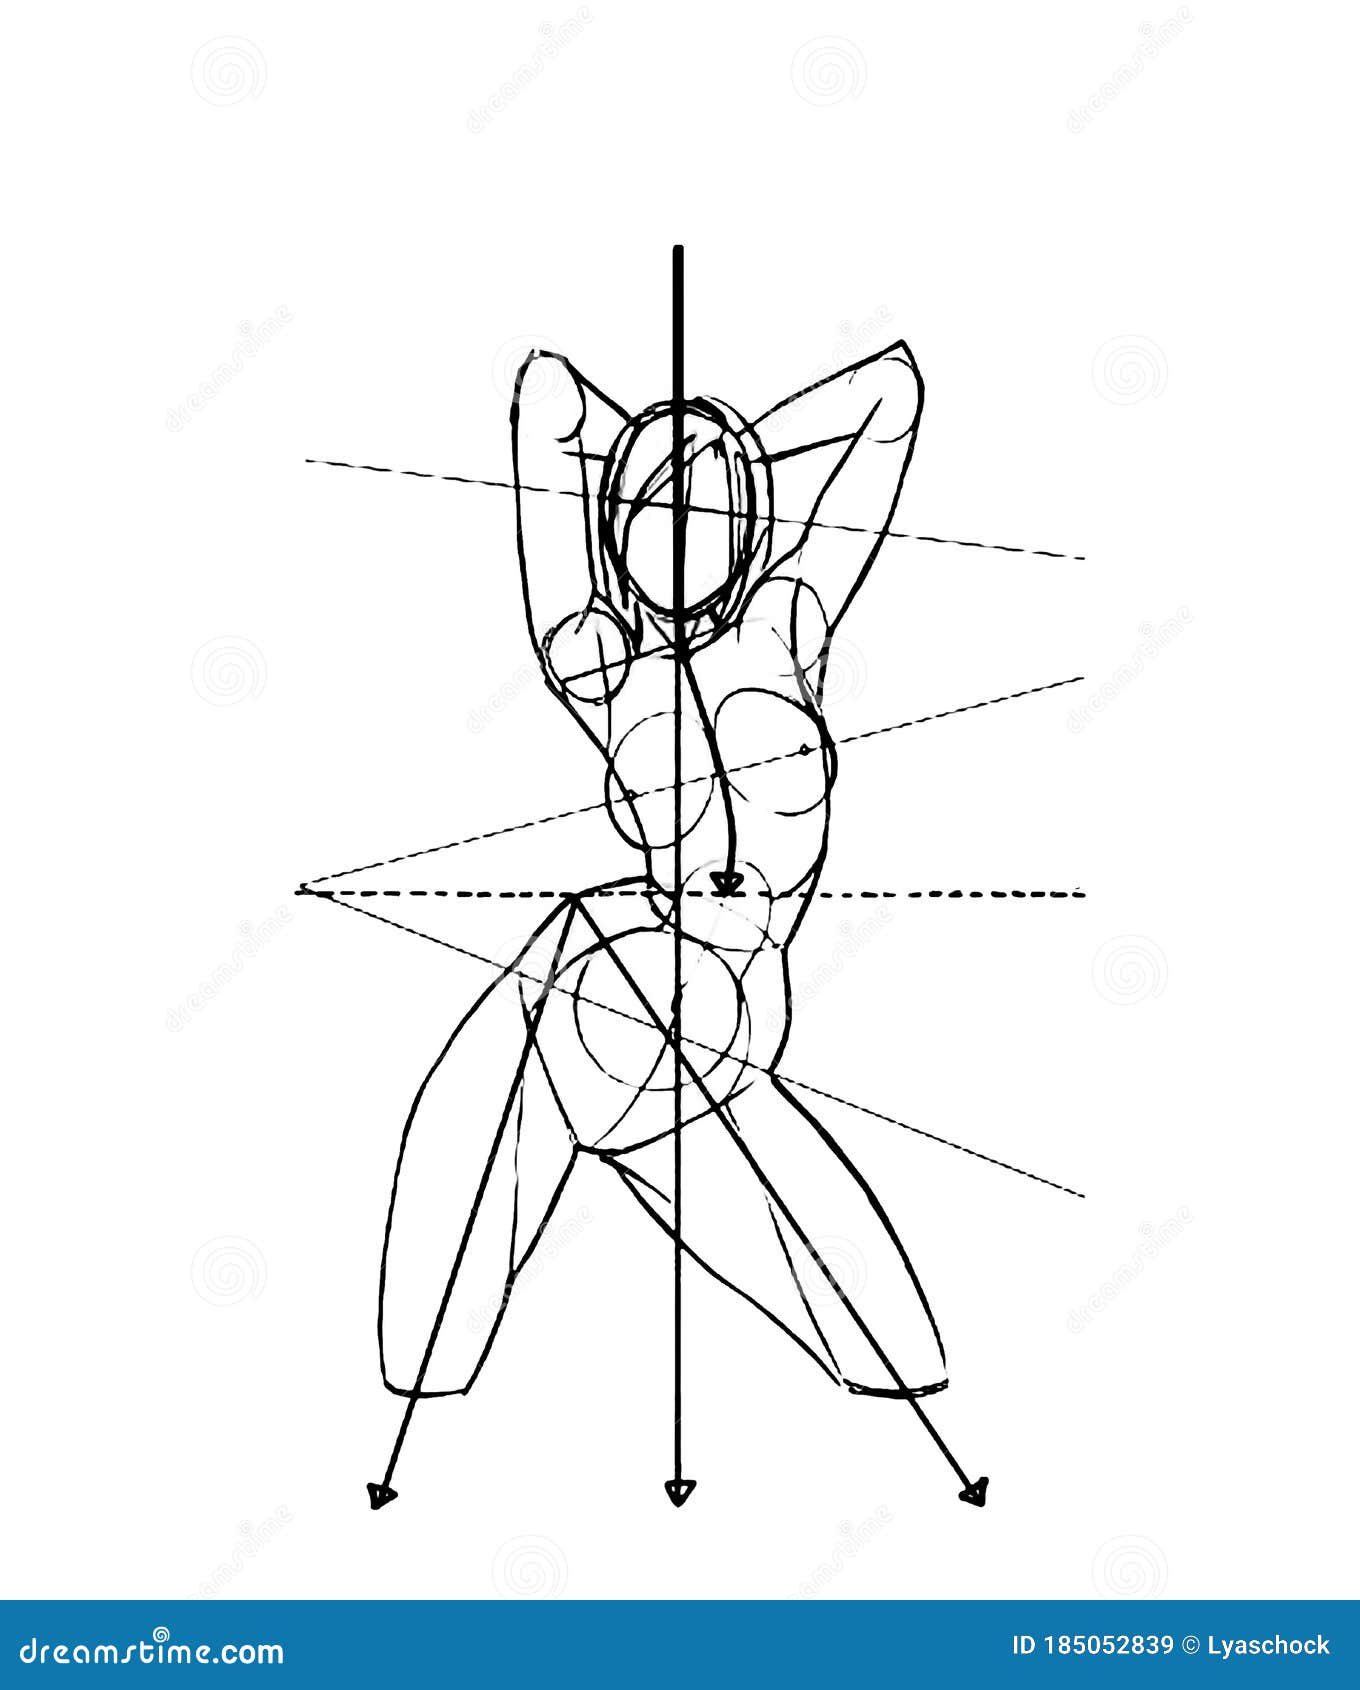
Now, let’s begin by discussing the steps required to learn how to draw a tap step by step. First, you’ll need to gather your materials, including paper, pencils, and an eraser. Then, you’ll start by sketching out the basic shape of the tap before adding in more specific details. Throughout the process, it’s important to pay attention to the proportions of the tap and ensure that everything is looking balanced and accurate.
In summary, to draw a tap step by step, you’ll need to start by sketching out the basic shape of the tap, adding in details about the knob, spout, and handles, and then finalizing the drawing with shading and texture to make it look like a realistic tap.
How to Draw a Tap Step by Step
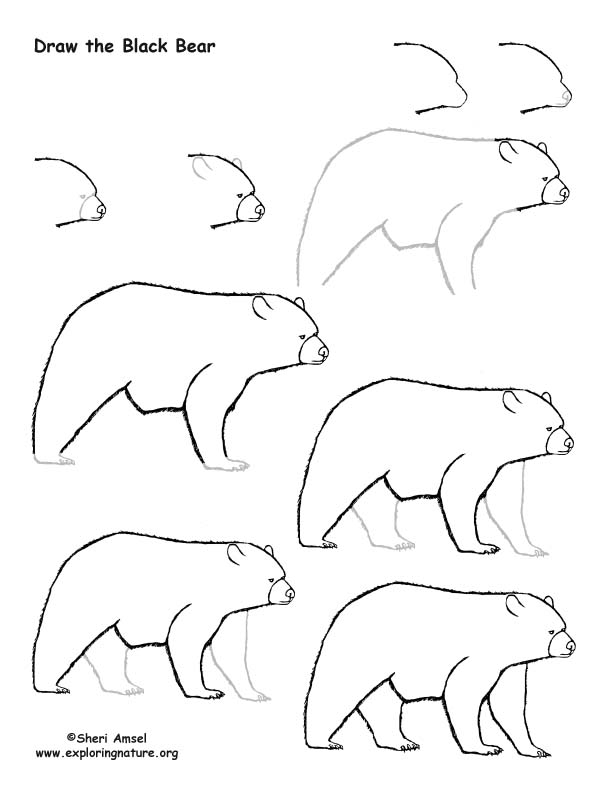
Learning how to draw a tap step by step takes patience and practice, but it’s well worth the effort. To start, make sure you have all the necessary materials at hand. Begin by drawing a rectangle shape for the body of the tap. Next, sketch out the details for the knob, spout, and handles. Pay attention to the details, such as the shape of the handles and the curves of the spout.
 Once you have the basic shape and details down, you can start to add shading and texture to your tap drawing. Use light strokes to create the illusion of metal, and make sure to add highlights to make the tap look shiny and realistic.
Tips and Tricks for Drawing a Tap Step by Step
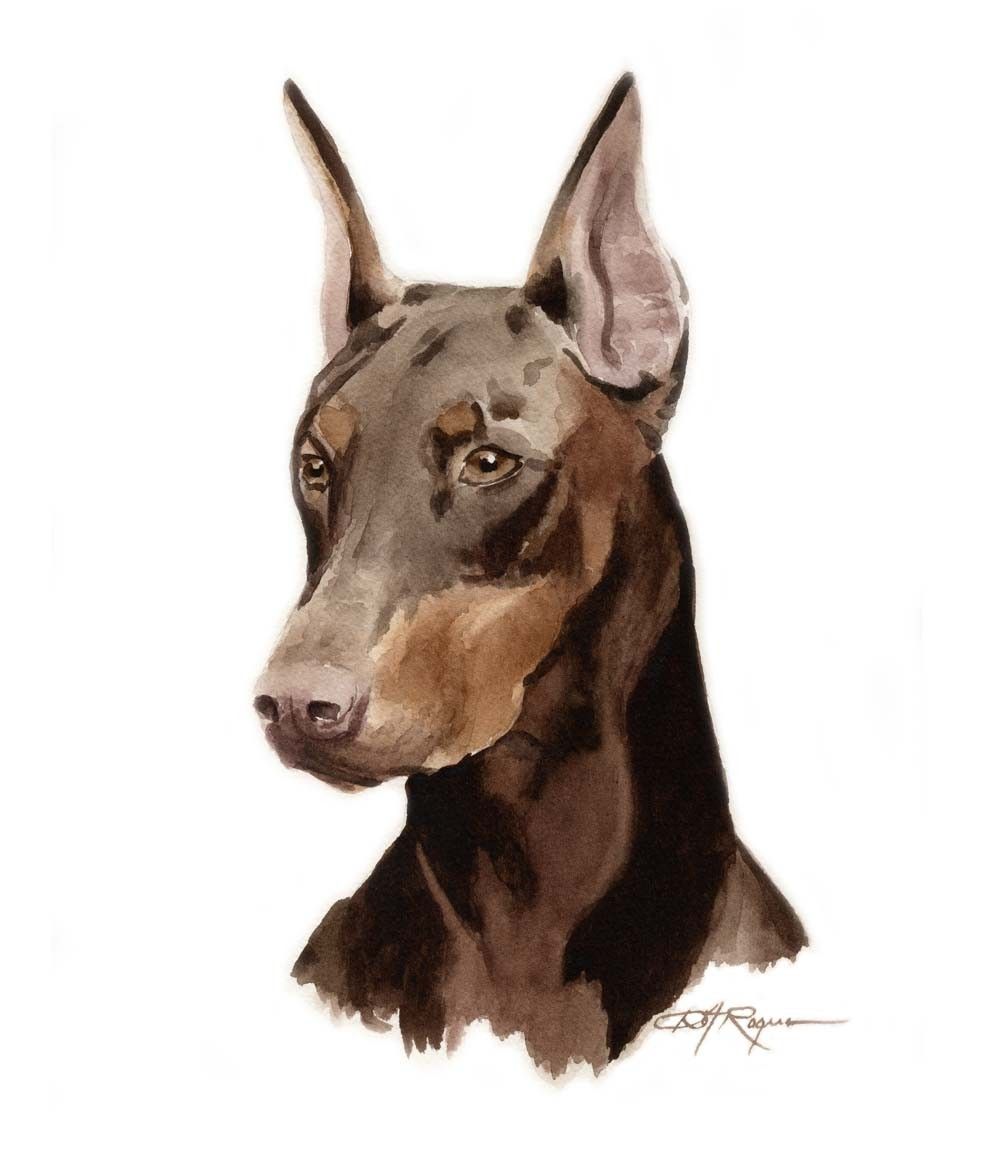
One helpful tip for drawing a tap is to use reference images. Find pictures of taps online or in magazines, and use them to guide your drawing. Break down the tap into its individual shapes and use those as building blocks for your own drawing. Also, make sure to pay attention to the proportions and angles of different parts of the tap. This will help you create a drawing that looks realistic and proportional.
Common Mistakes When Learning How to Draw a Tap Step by Step
One common mistake that people make when learning how to draw a tap step by step is to forget about the importance of shading and texture. Without these elements, even a perfectly proportioned tap drawing can look flat and lifeless. Be sure to take the time to add shading and texture to bring your tap drawing to life.
Final Thoughts
Drawing a tap step by step is a fun and rewarding experience. With some practice and patience, you’ll be able to create a beautiful drawing that you can be proud of. Remember to use reference images, pay attention to proportions and angles, and add shading and texture to make your tap drawing look as realistic as possible.
Frequently Asked Questions About How to Draw a Tap Step by Step
Q: What materials do I need to draw a tap?
A: To draw a tap step by step, you’ll need paper, pencils, and an eraser. Optional materials include a ruler for measuring angles and a blending tool for shading.
Q: Is it difficult to draw a tap?
A: Drawing a tap can be challenging, but with the right guidance and practice, anyone can do it.
Q: How long does it take to learn how to draw a tap step by step?
A: The length of time it takes to learn how to draw a tap step by step varies from person to person. However, with regular practice, most people should be able to draw a tap within a few hours or days.
Q: What’s the most important aspect of drawing a tap?
A: The most important aspect of drawing a tap is paying attention to the proportions and angles of the different parts of the tap. By doing so, you’ll be able to create a realistic and proportionate drawing that accurately captures the look of a tap.
Conclusion of How to Draw a Tap Step by Step
If you’re interested in learning how to draw a tap step by step, remember to take your time, use reference images, and pay attention to the details. With these tips and tricks in mind, you’ll be able to create a stunning tap drawing that looks realistic and impressive.
Gallery
How To Draw A Tap

Photo Credit by: bing.com / ayvazyan stepan
Tap Drawing At PaintingValley.com | Explore Collection Of Tap Drawing

Photo Credit by: bing.com / tap drawing draw water kids easy coloring drawings paintingvalley
How To Draw A Tap Water Step By Step - YouTube

Photo Credit by: bing.com /
How To Draw Tap For Kids - Slide 2 - Click To Enlarge In 2020 | Drawing
Photo Credit by: bing.com / tap taps
How To Draw A Watertap. | Cool Doodles, Step By Step Drawing, Flower

Photo Credit by: bing.com /